Text Threads
Text threads in the Agent Panel work like a regular editor. You can use custom keybindings, multiple cursors, and all the standard editing features while chatting.
Text Threads vs. Threads
Text Threads were Zed's original AI interface. In May 2025, Zed introduced the current Agent Panel, designed for agentic workflows.
The key difference: text threads don't support tool calls and many other more modern agentic features. They can't autonomously read files, write code, or run commands on your behalf. Text Threads are for simpler conversational interactions where you send text and receive text responses back.
Therefore, MCP servers and external agents are also not available in Text Threads.
Usage Overview
Text threads organize content into message blocks with roles:
YouAssistantSystem
To begin, type your message in a You block.
As you type, the remaining token count for the selected model updates automatically.
To add context from an editor, highlight text and run agent: add selection to thread (cmd->|ctrl->).
If the selection is code, Zed will wrap it in a fenced code block.
To submit a message, use cmd-enter|ctrl-enter (assistant: assist).
In text threads, enter|enter inserts a new line instead of submitting, which preserves standard editor behavior.
After you submit a message, the response is streamed below in an Assistant message block.
You can cancel the stream at any point with escape, or start a new conversation at any time via cmd-n|ctrl-n.
Text threads support straightforward conversations, but you can also go back and edit earlier messages—including previous LLM responses—to change direction, refine context, or correct mistakes without starting a new thread or spending tokens on follow-up corrections.
If you want to remove a message block entirely, place your cursor at the beginning of the block and use the delete key.
A typical workflow might involve making edits and adjustments throughout the context to refine your inquiry or provide additional information. Here's an example:
- Write text in a
Youblock. - Submit the message with cmd-enter|ctrl-enter.
- Receive an
Assistantresponse that doesn't meet your expectations. - Cancel the response with escape.
- Erase the content of the
Assistantmessage block and remove the block entirely. - Add additional context to your original message.
- Submit the message with cmd-enter|ctrl-enter.
You can also cycle the role of a message block by clicking on the role, which is useful when you receive a response in an Assistant block that you want to edit and send back up as a You block.
Commands Overview
Type / at the beginning of a line to see available slash commands:
/default: Inserts the default rule/diagnostics: Injects errors reported by the project's language server/fetch: Fetches the content of a webpage and inserts it/file: Inserts a single file or a directory of files/now: Inserts the current date and time/prompt: Adds a custom-configured prompt to the context (see Rules Library)/symbols: Inserts the current tab's active symbols/tab: Inserts the content of the active tab or all open tabs/terminal: Inserts a select number of lines of output from the terminal/selection: Inserts the selected text
Note: Remember, commands are only evaluated when the text thread is created or when the command is inserted, so a command like
/nowwon't continuously update, or/filecommands won't keep their contents up to date.
/default
Read more about /default in the Rules: Editing the Default Rules section.
Usage: /default
/diagnostics
Injects errors reported by the project's language server into the context.
Usage: /diagnostics [--include-warnings] [path]
--include-warnings: Optional flag to include warnings in addition to errors.path: Optional path to limit diagnostics to a specific file or directory.
/file
Inserts the content of a file or directory into the context. Supports glob patterns.
Usage: /file <path>
Examples:
/file src/index.js- Inserts the content ofsrc/index.jsinto the context./file src/*.js- Inserts the content of all.jsfiles in thesrcdirectory./file src- Inserts the content of all files in thesrcdirectory.
/now
Inserts the current date and time. Useful for informing the model about its knowledge cutoff relative to now.
Usage: /now
/prompt
Inserts a rule from the Rules Library into the context. Rules can nest other rules.
Usage: /prompt <prompt_name>
Related: /default
/symbols
Inserts the active symbols (functions, classes, etc.) from the current tab, providing a structural overview of the file.
Usage: /symbols
/tab
Inserts the content of the active tab or all open tabs.
Usage: /tab [tab_name|all]
tab_name: Optional name of a specific tab to insert.all: Insert content from all open tabs.
Examples:
/tab- Inserts the content of the active tab./tab "index.js"- Inserts the content of the tab named "index.js"./tab all- Inserts the content of all open tabs.
/terminal
Inserts recent terminal output (default: 50 lines).
Usage: /terminal [<number>]
<number>: Optional parameter to specify the number of lines to insert (default is 50).
/selection
Inserts the currently selected text. Equivalent to agent: add selection to thread (cmd->|ctrl->).
Usage: /selection
Commands in the Rules Library
Commands can be used in rules, in the Rules Library (previously known as Prompt Library), to insert dynamic content or perform actions.
For example, if you want to create a rule where it is important for the model to know the date, you can use the /now command to insert the current date.
Slash commands in rules only work when they are used in text threads. Using them in non-text threads is not supported.
Note: Slash commands in rules must be on their own line.
See the list of commands above for more information on commands, and what slash commands are available.
Example
You are an expert Rust engineer. The user has asked you to review their project and answer some questions.

Here is some information about their project:

/file Cargo.toml
In the above example, the /file command is used to insert the contents of the Cargo.toml file (or all Cargo.toml files present in the project) into the rule.
Nesting Rules
Similar to adding rules to the default rules, you can nest rules within other rules with the /prompt command (only supported in Text Threads currently).
You might want to nest rules to:
- Create templates on the fly
- Break collections like docs or references into smaller, mix-and-matchable parts
- Create variants of a similar rule (e.g.,
Async Rust - Tokiovs.Async Rust - Async-std)
Example
Title: Zed-Flavored Rust

## About Zed

/prompt Zed: Zed (a rule about what Zed is)

## Rust - Zed Style

/prompt Rust: Async - Async-std (zed doesn't use tokio)
/prompt Rust: Zed-style Crates (we have some unique conventions)
/prompt Rust - Workspace deps (bias towards reusing deps from the workspace)
The text in parentheses above are comments and are not part of the rule.
Note: You can technically nest a rule within itself, but we don't recommend doing so.
By using nested rules, you can create modular and reusable rule components that can be combined in various ways to suit different scenarios.
Note: When using slash commands to bring in additional context, the injected content can be edited directly inline in the text thread—edits here will not propagate to the saved rules.
Extensibility
Additional slash commands can be provided by extensions.
See Extension: Slash Commands to learn how to create your own.
Advanced Concepts
Rule Templates
Zed uses rule templates to power internal assistant features, like the terminal assistant, or the content rules used in the inline assistant.
Zed has the following internal rule templates:
content_prompt.hbs: Used for generating content in the editor.terminal_assistant_prompt.hbs: Used for the terminal assistant feature.
At this point it is unknown if we will expand templates further to be user-creatable.
Overriding Templates
Note: It is not recommended to override templates unless you know what you are doing. Editing templates will break your assistant if done incorrectly.
Zed allows you to override the default rules used for various assistant features by placing custom Handlebars (.hbs) templates in your ~/.config/zed/prompt_overrides directory.
The following templates can be overridden:
-
content_prompt.hbs: Used for generating content in the editor. -
terminal_assistant_prompt.hbs: Used for the terminal assistant feature.
Note: Be sure you want to override these, as you'll miss out on iteration on our built-in features. This should be primarily used when developing Zed.
You can customize these templates to better suit your needs while maintaining the core structure and variables used by Zed. Zed will automatically reload your prompt overrides when they change on disk.
Consult Zed's assets/prompts directory for current versions you can play with.
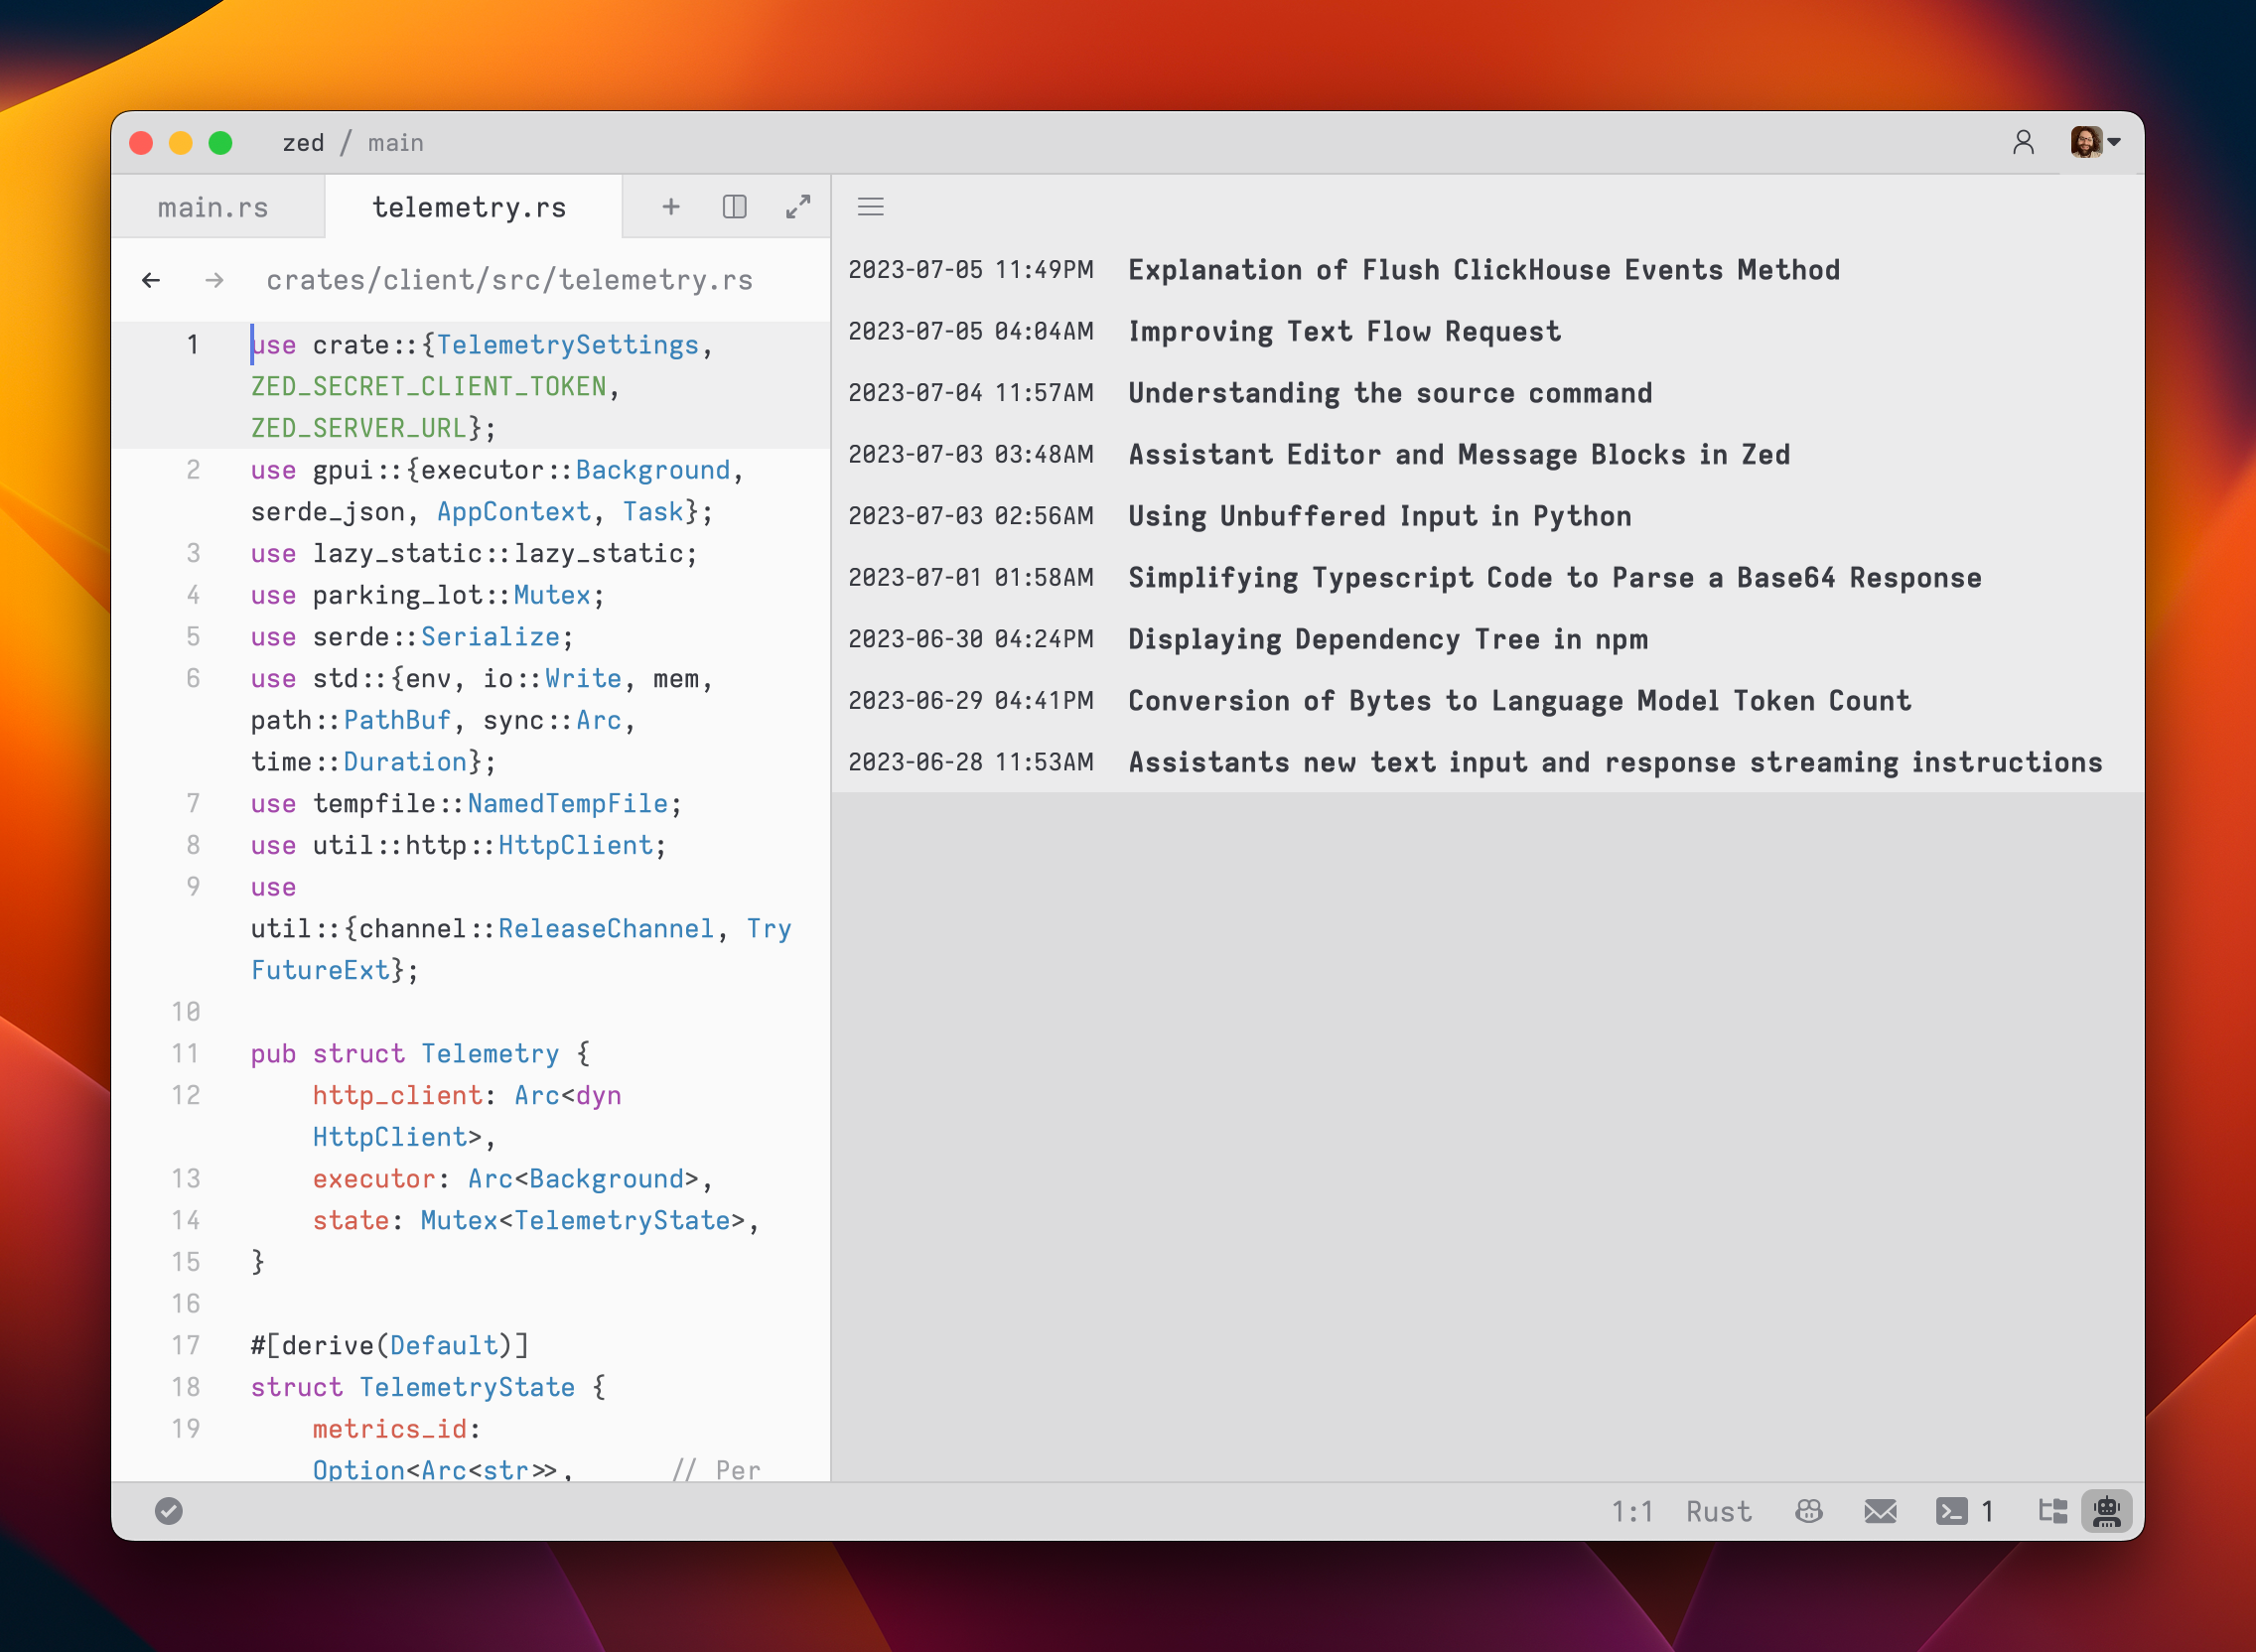
History
After you submit your first message in a text thread, a name for your context is generated by the language model, and the context is automatically saved to your file system in
~/.config/zed/conversations(macOS)~/.local/share/zed/conversations(Linux)%LocalAppData%\Zed\conversations(Windows)
You can access and load previous contexts by clicking on the history button in the top-left corner of the agent panel.